How to Set Up a Campsite When You Have No Idea What Youre Doing (2026 Complete Guide)
Casey - The Weekend Warrior
11 min read
Prices verified March 2026
Includes Video
Setting up a campsite can feel like building IKEA furniture in the dark, with mosquitos, and no instructions. My first time, I spent 43 minutes trying to figure out if my tent was upside down in a Maryland state park.
★ Best Overall
Editor picks below — verified, expert-reviewed.
Setting up a campsite can feel like building IKEA furniture in the dark, with mosquitos, and no instructions. My first time, I spent 43 minutes trying to figure out if my tent was upside down in a Maryland state park. This is the honest version of what to expect when you roll up with zero game-time experience.
Forget the "comprehensive guides"; this is

The Short Answer
The core principle when you have no idea how to set up a campsite is to think about basic survival and comfort. It's not about being a pro, it's about not making a rookie mistake that ruins your trip. My honest version is that I once set up my tent in a low spot and woke up to a river running under my sleeping bag. So, the absolute must-do is to find flat, high ground to avoid water collection. Think of your campsite as zones: a place to sleep, a place to eat, and a place to just chill. Keeping these areas distinct and functional makes everything easier, even if you're just winging it. This is about creating a functional base camp, not a luxury resort, and ensuring you're not facing unnecessary discomfort. When you're starting out, the "where" is just as crucial as the "what." Imagine your campsite as a mini-settlement, and each element needs a purpose. The most critical rule, as I learned the hard way, is site selection. You want to be elevated, not in a dip or hollow where rain will naturally pool and become your unwelcome roommate. Look for level ground; it's not just for a better night's sleep, but also to ensure your tent doesn't awkwardly sag or collect puddles. Beyond avoiding becoming a literal island, consider the flow of your camp. Designate specific areas. Your sleeping zone should be calm and protected, ideally out of the direct path of foot traffic. Then, create a separate zone for cooking and eating. This separation prevents food smells from attracting critters to your sleeping quarters and keeps your relaxation space clean. A third area for general lounging or gear storage can also make a big difference in how organized and pleasant your setup feels even with minimal experience. It's about anticipating basic needs. Can you easily access water and your cooking supplies? Is your tent positioned to shield you from prevailing winds or offer a pleasant view, if possible? Looking up to check for dead branches is also a smart move for safety. These fundamental considerations, even without intricate planning, are the bedrock of a comfortable and safe outdoor experience.
To enhance your comfort, consider learning how to properly set up your car for camping.
The Reality Check
Forget the Instagram-perfect shots for a second. Setting up a campsite isn't just about throwing a tent up and calling it a day. It's about understanding the actual space you've been given. Some sites are designed with specific "lines" for your setup. I learned this the hard way when a park ranger in West Virginia gave me the side-eye for having my cooler outside my designated area ensure you can fit on a site and stay within the lines. It's not just a patch of dirt; it has boundaries. If you're rocking an RV, this means locating your hookups - electrical, water, sewer - before you even think about parking locate the electrical, water, and sewer hookups. For tent campers, it's about recognizing those invisible lines that define your space. Beyond the boundaries, you need to be a mini-detective surveying the site. Look up. Seriously. I discovered this during a windy night at a private campground in North Carolina when a dead tree limb decided to test gravity. That's what nobody tells beginners - the potential for falling hazards overhead look up. Make sure there aren't any trees or tree limbs that look suspect. You also want to find flat, high ground, avoiding low spots where water will collect if it rains choose Your Tent Site Wisely Look for flat, high ground (avoid low spots where water collects). This initial assessment is your field notes before you even unpack your sleeping bag. It's the reality check before you even touch your gear. Think of your campsite as your temporary outdoor living room. You need to consider the overall layout. Where will your tent go? Where will the cooking area be? What about a spot for chairs to just relax? Plan a common area, anticipating where you'll spend most of your time. This pre-setup survey is crucial. It's not just about avoiding a park ranger's disapproving gaze or a falling branch. It's about setting yourself up for comfort and safety. For RVers, this means ensuring your rig will fit within the designated spot, considering slide-outs and awnings, and confirming you can reach those vital hookups without stretching hoses or cords to their absolute limit Consider any additional things like cars, trailer or gazebo/shelter. For tent campers, the "invisible lines" are just as important. You need enough space for your tent, your gear, and a little breathing room. Overlapping with a neighbor's site is a quick way to start your trip off on the wrong foot. And that overhead hazard check? It's not just about dead limbs. Keep an eye out for anything that looks unstable, or even potential animal pathways that might lead right through your campsite. You're essentially creating a safe zone, and that starts with a thorough inspection. This is your site reconnaissance before the main operation begins.
To further simplify your experience, consider our tips on planning your first car camping trip.
How to Handle This
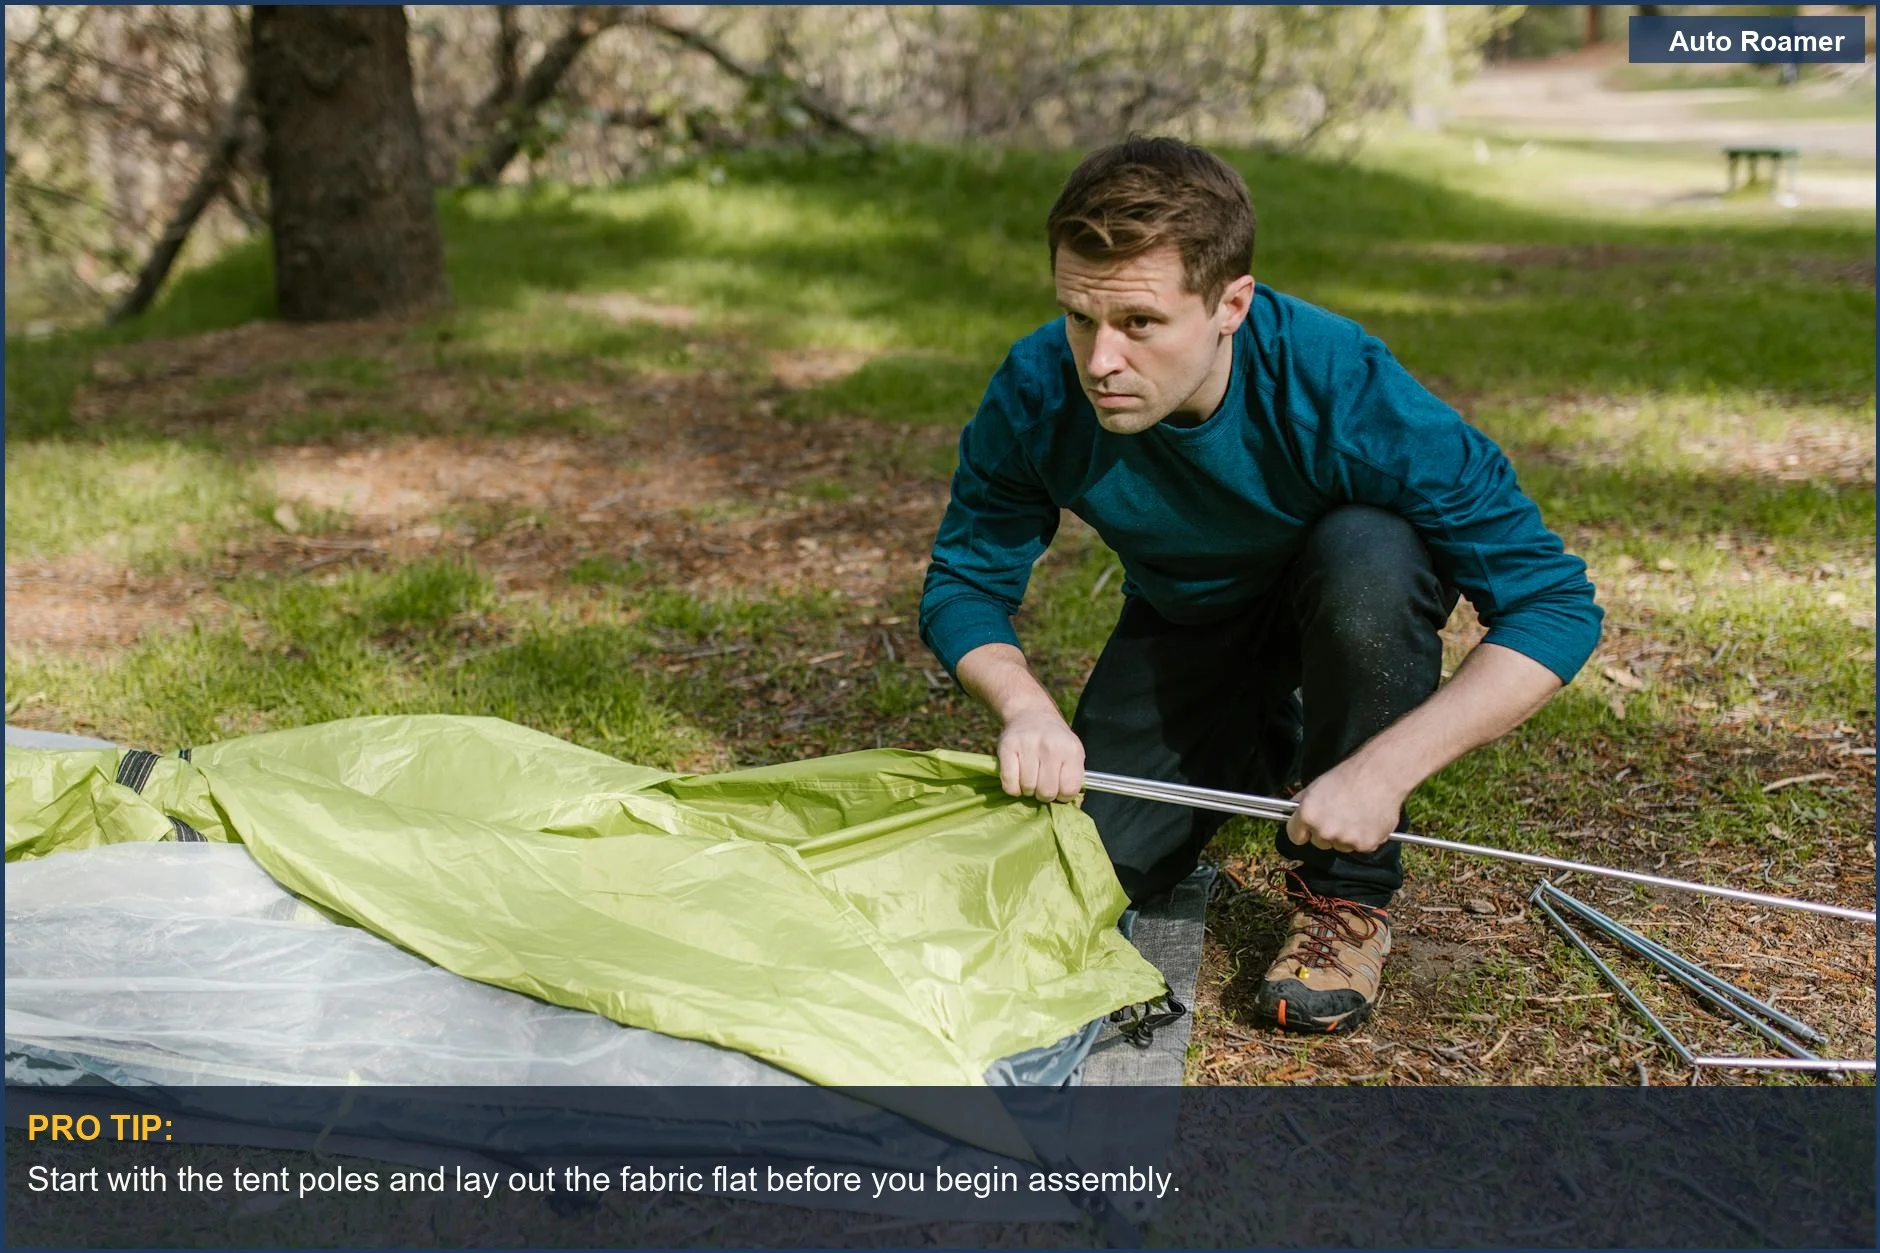
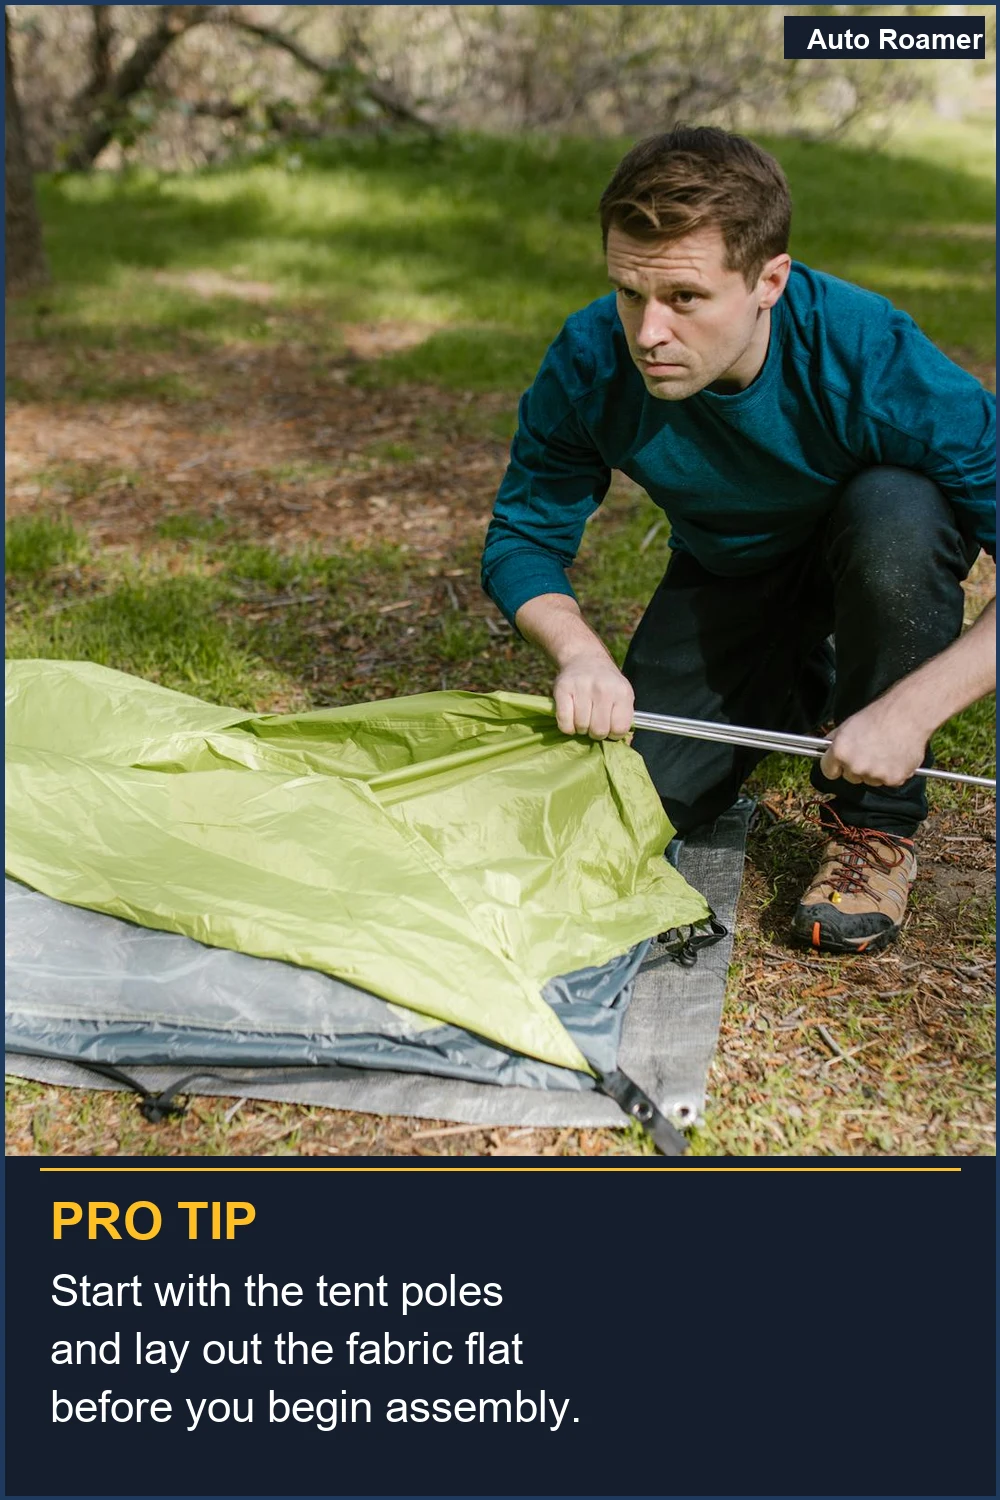
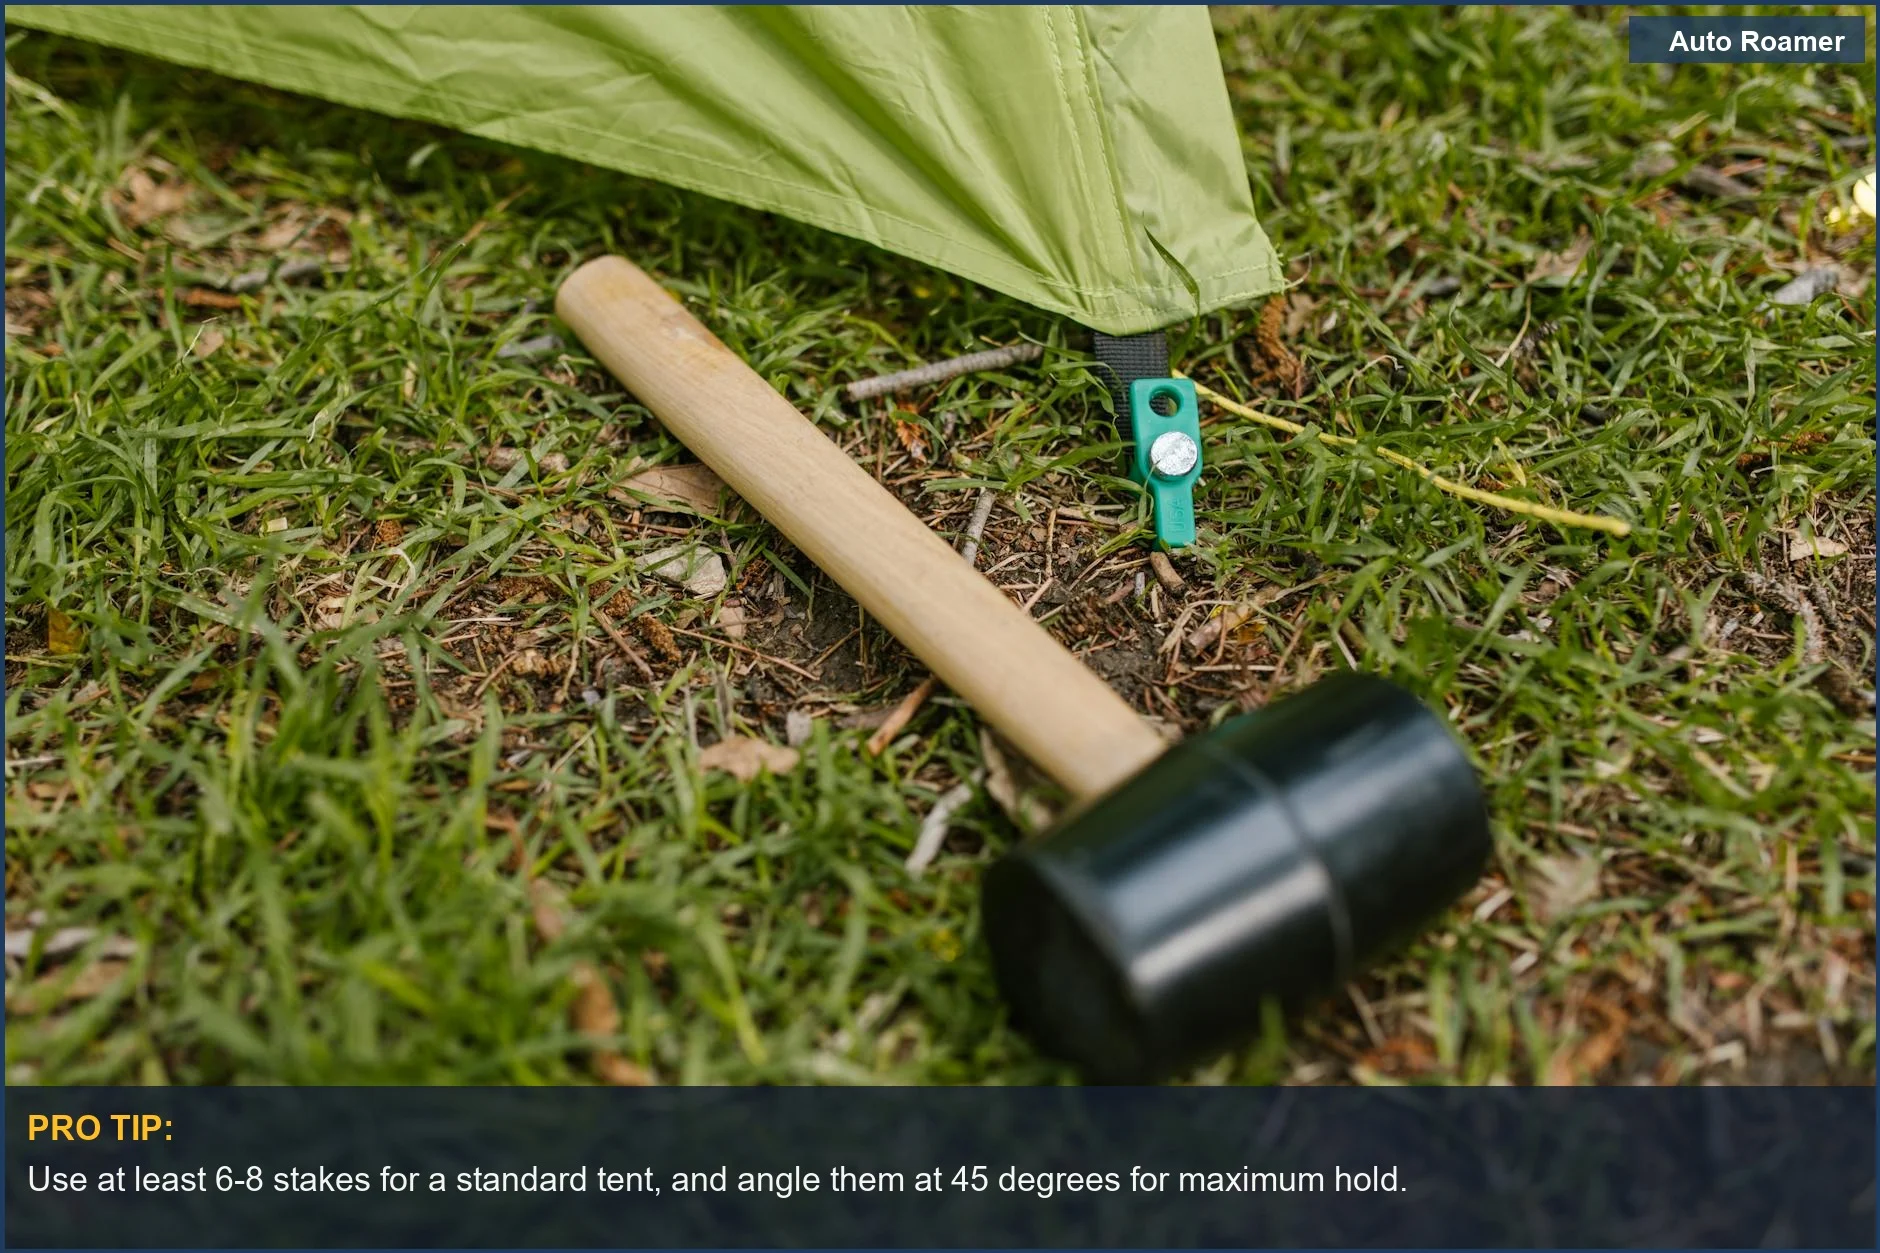
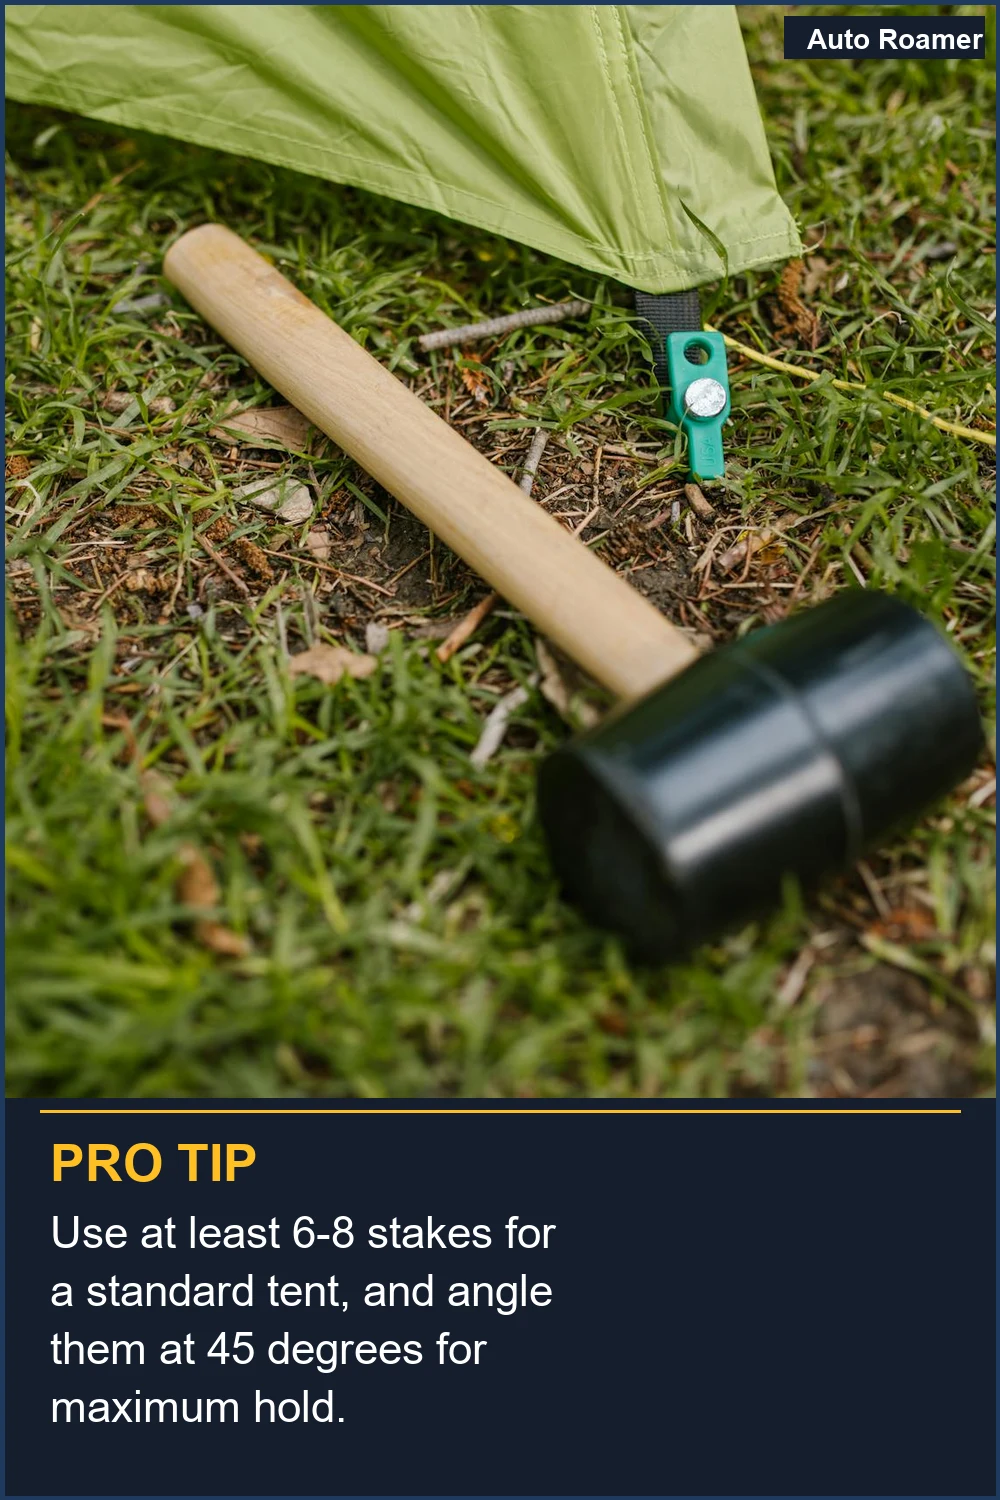
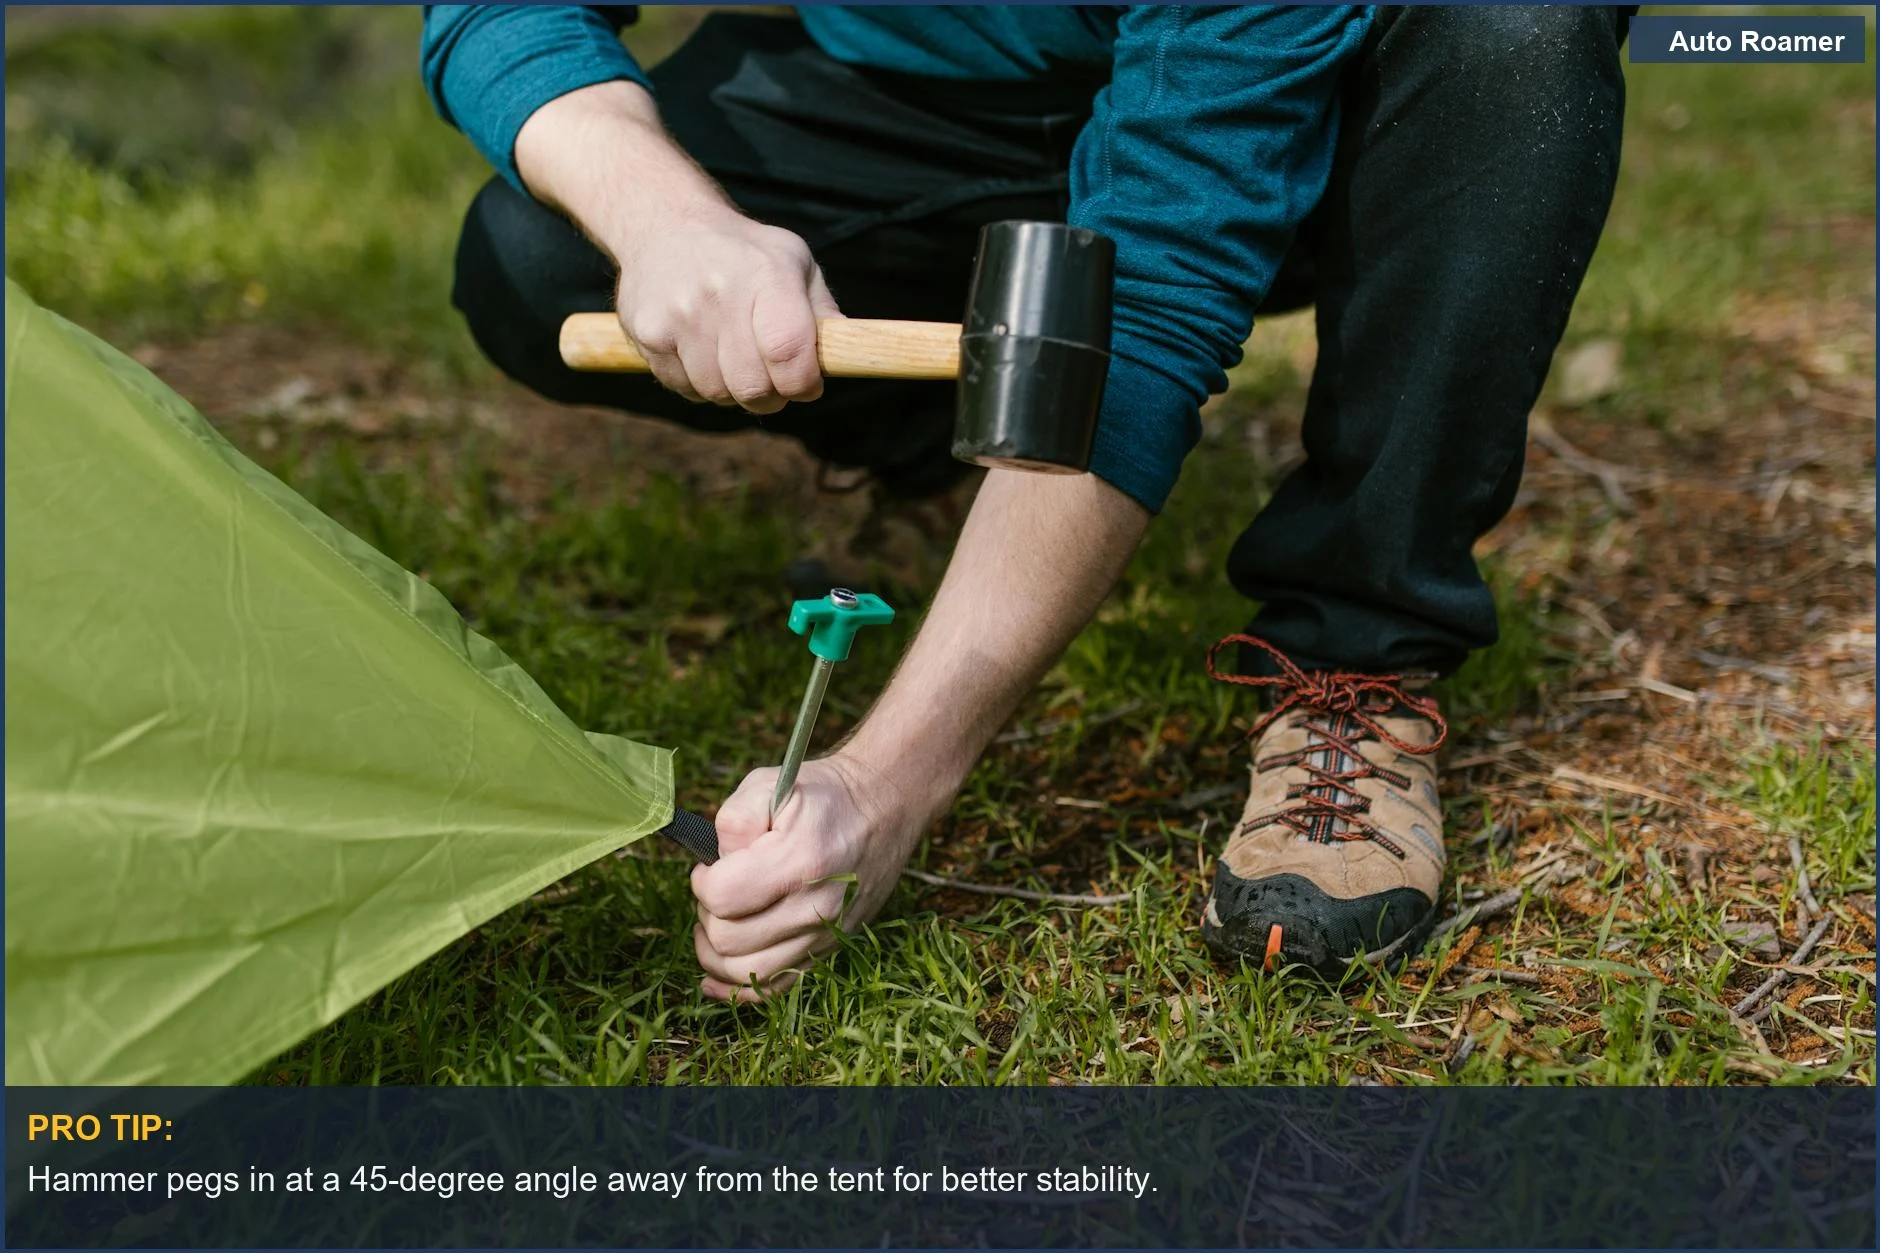
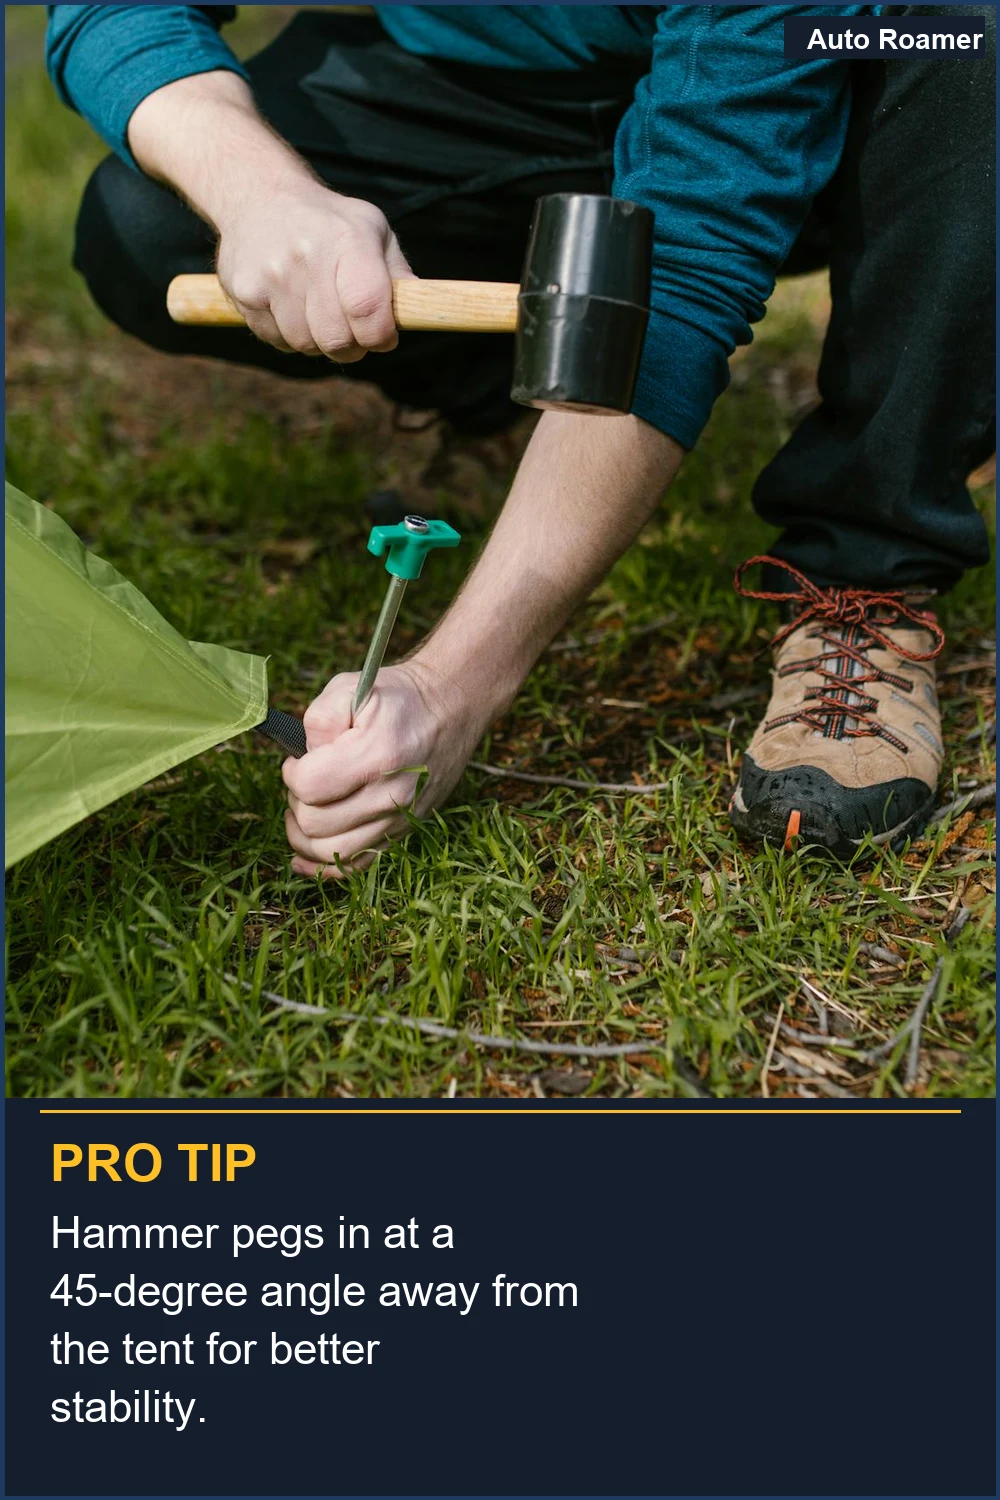
Alright, let's get this campsite set up. This isn't rocket science, but it's also not something you want to figure out in the dark with mosquitos feasting on you. 1. Pick Your Spot Wisely: Forget just plunking your tent down anywhere. You need flat, high ground. Seriously. I learned this the hard way in Virginia, constantly waking up in a puddle because I didn't scout for a slight incline. Avoid low spots where water will naturally collect. Camping 101: Your Top Tested Beginner's Guide (2026) spells it out: look for flat, high ground and avoid water collection zones. Also, consider the overall footprint of your setup. You need to make sure your tent, plus any chairs or a small table, will fit within the designated site lines. Facebook campers remind us to think about fitting everything, including cars or trailers, within the site boundaries. 2. Tent Placement Matters: Once you've got your prime real estate, lay out your tent body. Now, before you start hammering stakes, do a quick scan *above* you. Nobody tells you to check for dead tree limbs until a branch decides to make an unscheduled visit. The real move is to check overhead first. After that, orient your tent. Think about the view you want to wake up to, or more importantly, how to block the wind. I spent one too many nights at a Maryland campsite with my tent doing a frantic flapping dance like a sail in a gale, all because I didn't consider wind direction. REI Expert Advice mentions anticipating weather and orienting your tent for views or wind protection. If possible, aim to have your tent door face away from prevailing winds. 3. Secure the Perimeter: Stake down your tent firmly. Make sure the rainfly is on correctly and tensioned. This isn't just about keeping bugs out; it's about making sure your shelter stays put when the wind picks up. Battlbox's guide emphasizes setting up your tent properly for comfort and safety. Make sure your stakes are driven in at an angle, not straight down, for maximum holding power. If the ground is particularly hard, you might need a mallet or even a sturdy rock to get them in. 4. Organize Your "Home Away From Home": Think about where your cooking gear will go, where you'll store your backpack, and where you'll set up a camp chair. Having a designated area for everything makes life so much easier. Woodman's Pal suggests setting up a campsite that gives you everything you need in the optimal space. Consider creating distinct zones: a sleeping area, a cooking/eating area, and a general hangout spot. This helps maintain order and makes it easier to find things when you
To ensure your campfire stays lit even in challenging conditions, consider tips from our article on camping in the rain.
What This Looks Like in Practice
Setting up a campsite when you're clueless leads to two extremes: underprepared or overpacked. My first car camping trip, a $47 experiment in a Honda Civic hatchback in Shenandoah Valley mid-October, was the former. I had a Walmart foam pad, a 40F sleeping bag, and no idea mountain temperatures drop 15 degrees after midnight. The fix? A $12 fleece liner, shoved in late. What nobody tells beginners: mountain air bites harder than you think. Then there's the opposite: packing for a 3-day trip like I was moving apartments, my trunk so full I couldn't see out the rear window. The honest version is you need a sleeping setup, water, no-cook food, and a headlamp. Everything else is optional until you figure out what you actually use. Let's break down "setup" with zero experience:
To enhance your experience and avoid common pitfalls, consider these beginner camping mistakes that many face.
Mistakes That Cost People
Picking the wrong spot is rookie mistake number one. I learned this the hard way when I set up my tent in a picturesque hollow by a stream, only to wake up in a muddy trench thanks to an overnight downpour Camping 101: Your Top Tested Beginner's Guide (2026). The fix? Always aim for flat, slightly elevated ground. You want to avoid those low spots where water naturally collects Camping 101: Your Top Tested Beginner's Guide (2026). Another classic blunder is forgetting to consider the wind. I once had my cheap pop-up tent almost take flight on a windy beach in Delaware because I didn't orient it properly How To Set Up A Campsite: A Comprehensive Guide for Adventurers. The solution is simple: pitch your tent with its narrowest side facing the prevailing wind to minimize its profile How To Set Up A Campsite: A Comprehensive Guide for Adventurers. These are the kinds of mistakes that can ruin your comfort, cost you sleep, and sometimes even destroy your gear How To Set Up A Campsite: A Comprehensive Guide for Adventurers. You also need to ensure you have enough space for your tent and any other gear you plan to bring, like vehicles or shelters Any tips or suggestions before I place a campsite somewhere?. Don't forget to look up before you start setting up; you don't want to be under any dead tree limbs that could fall What are some tips for picking and setting up a campsite?.Mistakes That Cost People
To avoid common pitfalls like choosing the wrong location, having a solid camping checklist for beginners can be invaluable.
Key Takeaways
Setting up a campsite isn't rocket science. Forget fancy gadgets and the perfect Instagram shot. The goal is simple: get outside and have a decent time without ending up soaked or squashed by a falling branch. The $50 version of camping is still camping Camping 101: Your Top Tested Beginner's Guide (2026). Here's what matters:
Once you're set up, knowing what to expect on your first night can enhance your camping experience; learn more in our guide to your first night camping.
Frequently Asked Questions
Where's the best spot to actually put my tent when I have zero clue what I'm doing?
Look for a flat, level patch of ground that's a little higher up than the surrounding area. I learned this the hard way when a sudden downpour turned my first campsite in Yosemite into a mini-lake. Avoid low spots where water likes to hang out. You don't want to wake up in a puddle.
My tent looks like a deflated balloon. How do I make it stand up?
Most tents come with color-coded poles that snap together. Honestly, it took me about 15 minutes to figure out the first time I set up my $80 Ozark Trail tent. Lay out the tent body, insert the poles into the sleeves or clips, and then stake it down. The stakes are those little metal pointy things that keep it from blowing away.
Do I really need to stake down my tent if it's not windy?
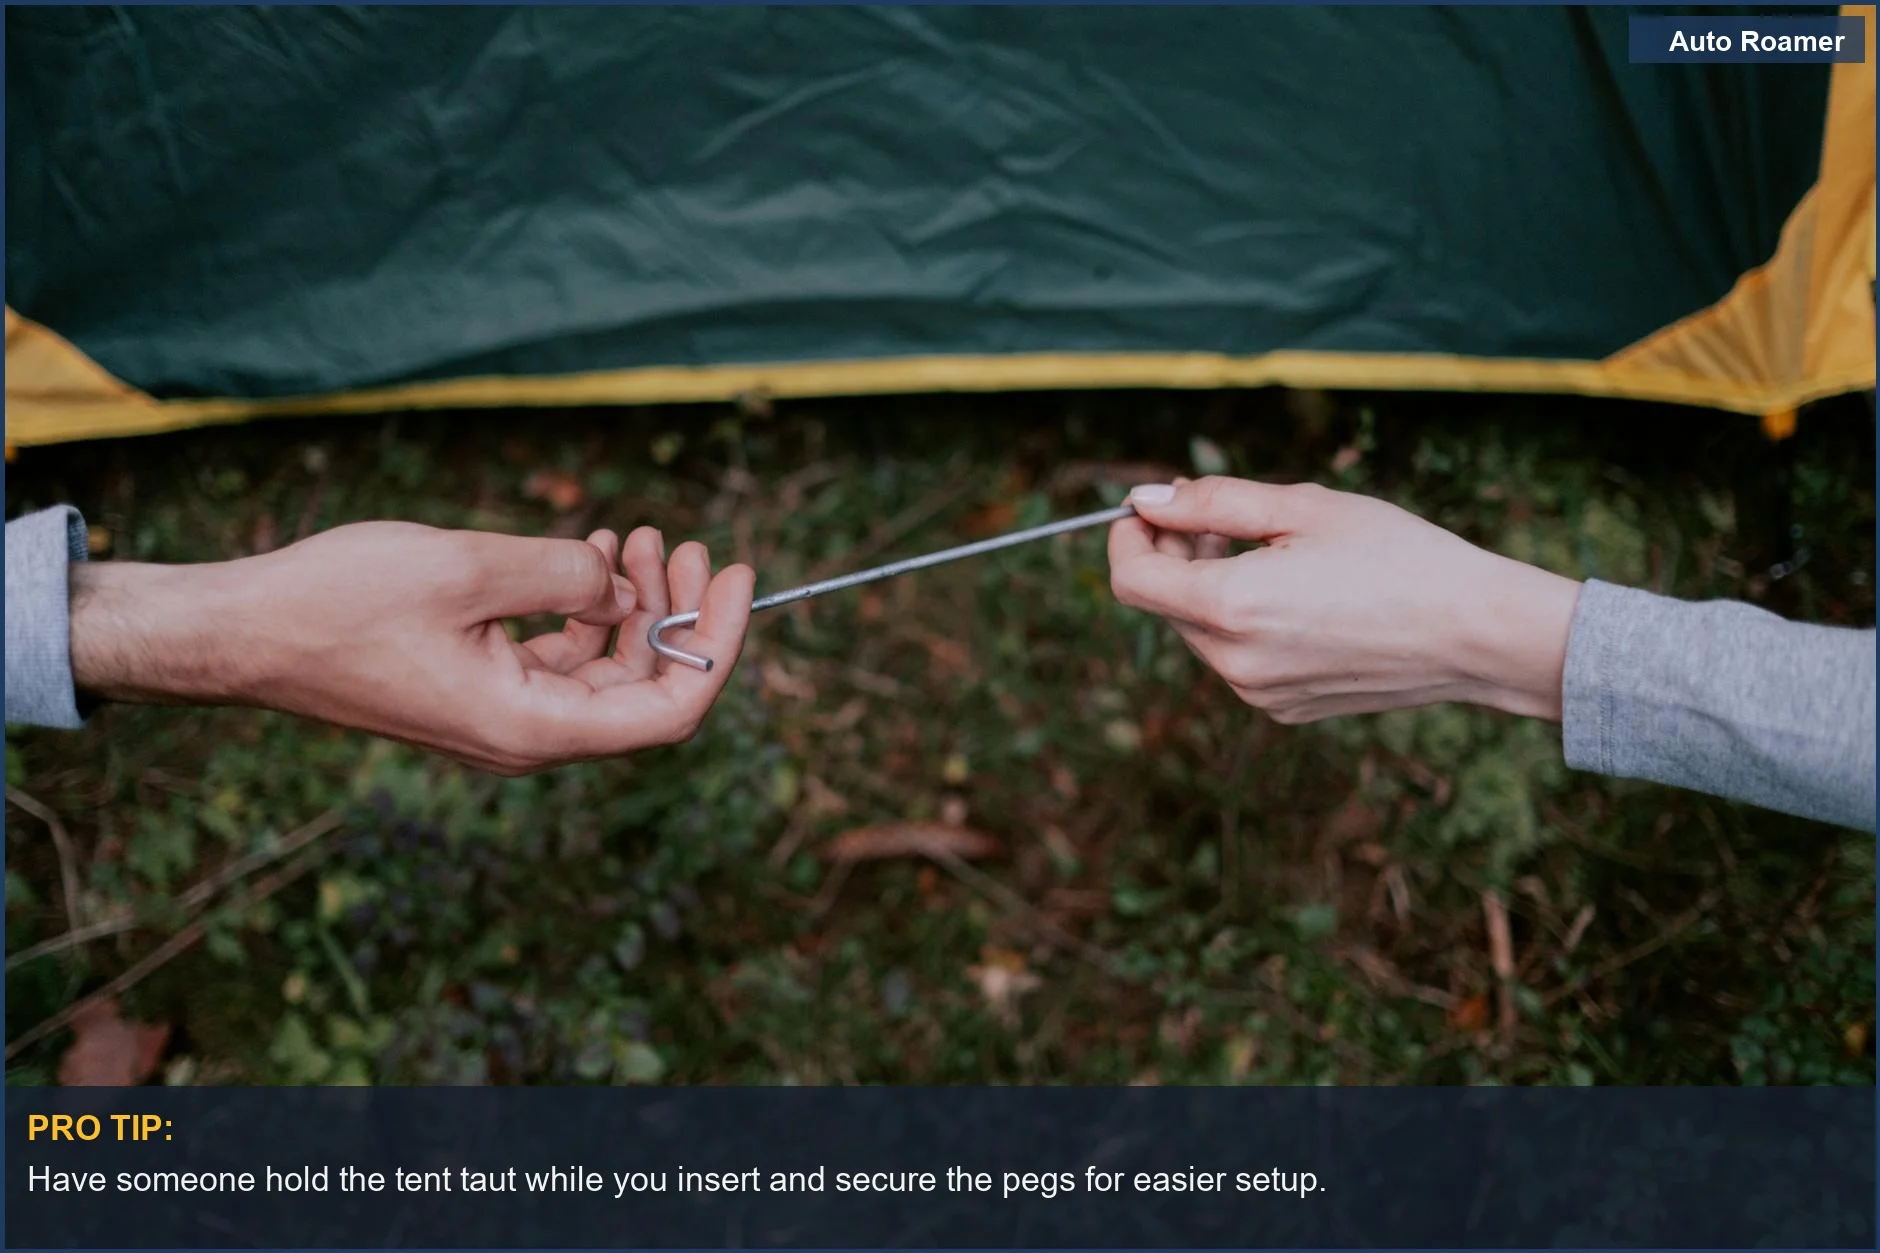
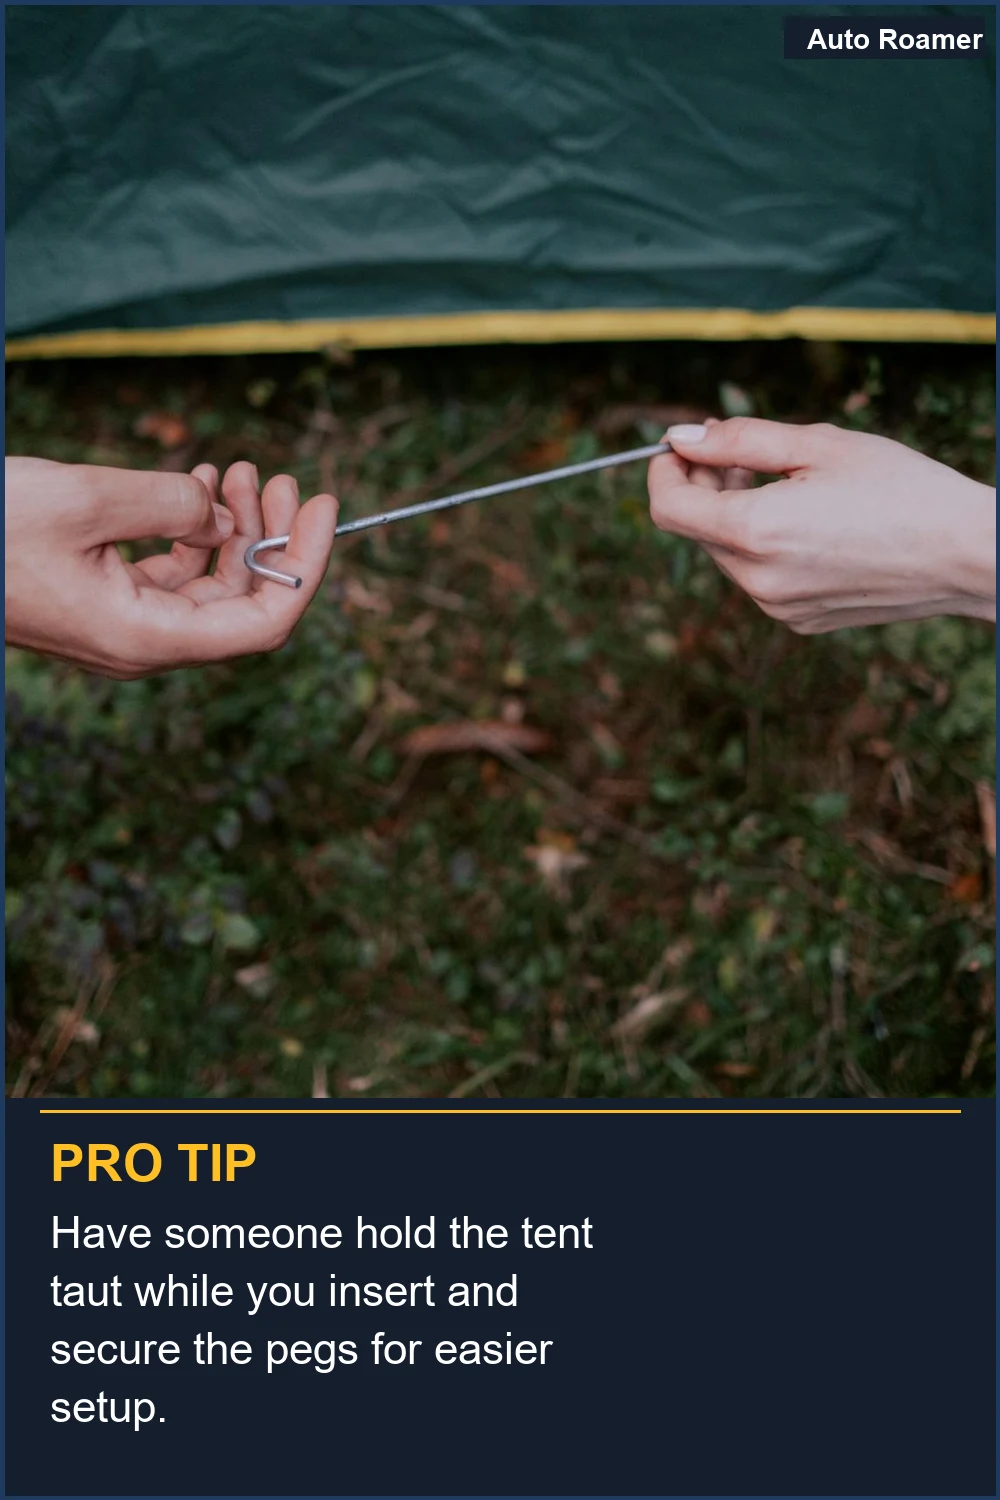
Yes, you absolutely do. I once thought I could skip staking down my tent on a calm night at Big Basin, and by morning, a rogue gust of wind had it halfway across the campsite. Stakes do more than just prevent wind damage; they keep the tent taut and comfortable inside.
What's the deal with the rainfly thingy? Do I have to put that on?
The rainfly is your best friend when it starts to drizzle. It's that extra layer of fabric that goes over your tent. I once skipped putting it on during a trip to Pinnacles because it looked like clear skies, and I was damp and miserable by 3 AM. Always put it on, even if the forecast looks good.
Is there a specific order for setting up camp stuff?
The real move is to get your tent up first. It gives you a secure place to dump your gear and a base to work from. After the tent, I usually set up my sleeping pad and bag inside so they're ready for when I'm done with everything else. Then, I worry about the kitchen and chairs.
I've got this big tarp. What do I do with it?
That tarp is your secret weapon for comfort. You can lay it down under your tent to protect the bottom from rocks and moisture, or you can string it up between trees to create a shaded cooking area or a dry spot to hang out. I learned to always have a tarp after a soggy dinner in the Redwoods.
🏅 Looking for Gear Recommendations?
Check out our tested gear guides for products that work with this setup:
Sources
- What are some tips for picking and setting up a campsite? - Facebook
- Camping 101: Your Top Tested Beginner's Guide (2026)
- Any tips or suggestions before I place a campsite somewhere?
- Checklist: How to Set Up and Break Down Your Campsite
- How To Set Up A Campsite: A Comprehensive Guide for Adventurers
- Campsites: Storage, Setup & Organization | REI Expert Advice
- How To Set Up a Campsite: A Guide for First-Time Campers