First, the Basics
The sudden jolt of your dash cam detaching from the windshield is a heart-stopping moment. You glance up, and there it is, dangling precariously by its power cord, or worse, lying on the dashboard. This isn't just an inconvenience; it's a potential loss of critical evidence. Whether it's a minor fender-bender or a more serious incident, your dash cam needs to be reliably secured. Many factory-included adhesive pads fail under heat and vibration, forcing drivers to seek out more robust solutions like dash cam sticky mount options. Inspecting camera mounts for loosening or windshield adhesive failure is a key best practice, especially in demanding environments Fleet Dash Cam Installation Best Practices: The 2026 Guide to Getting AI Video Telematics Right the First Time. Relying on the default adhesive can lead to unexpected failures, leaving you without crucial footage when you need it most. Understanding the nuances of dash cam mount adhesive is paramount to ensuring your device stays put, no matter the road conditions.
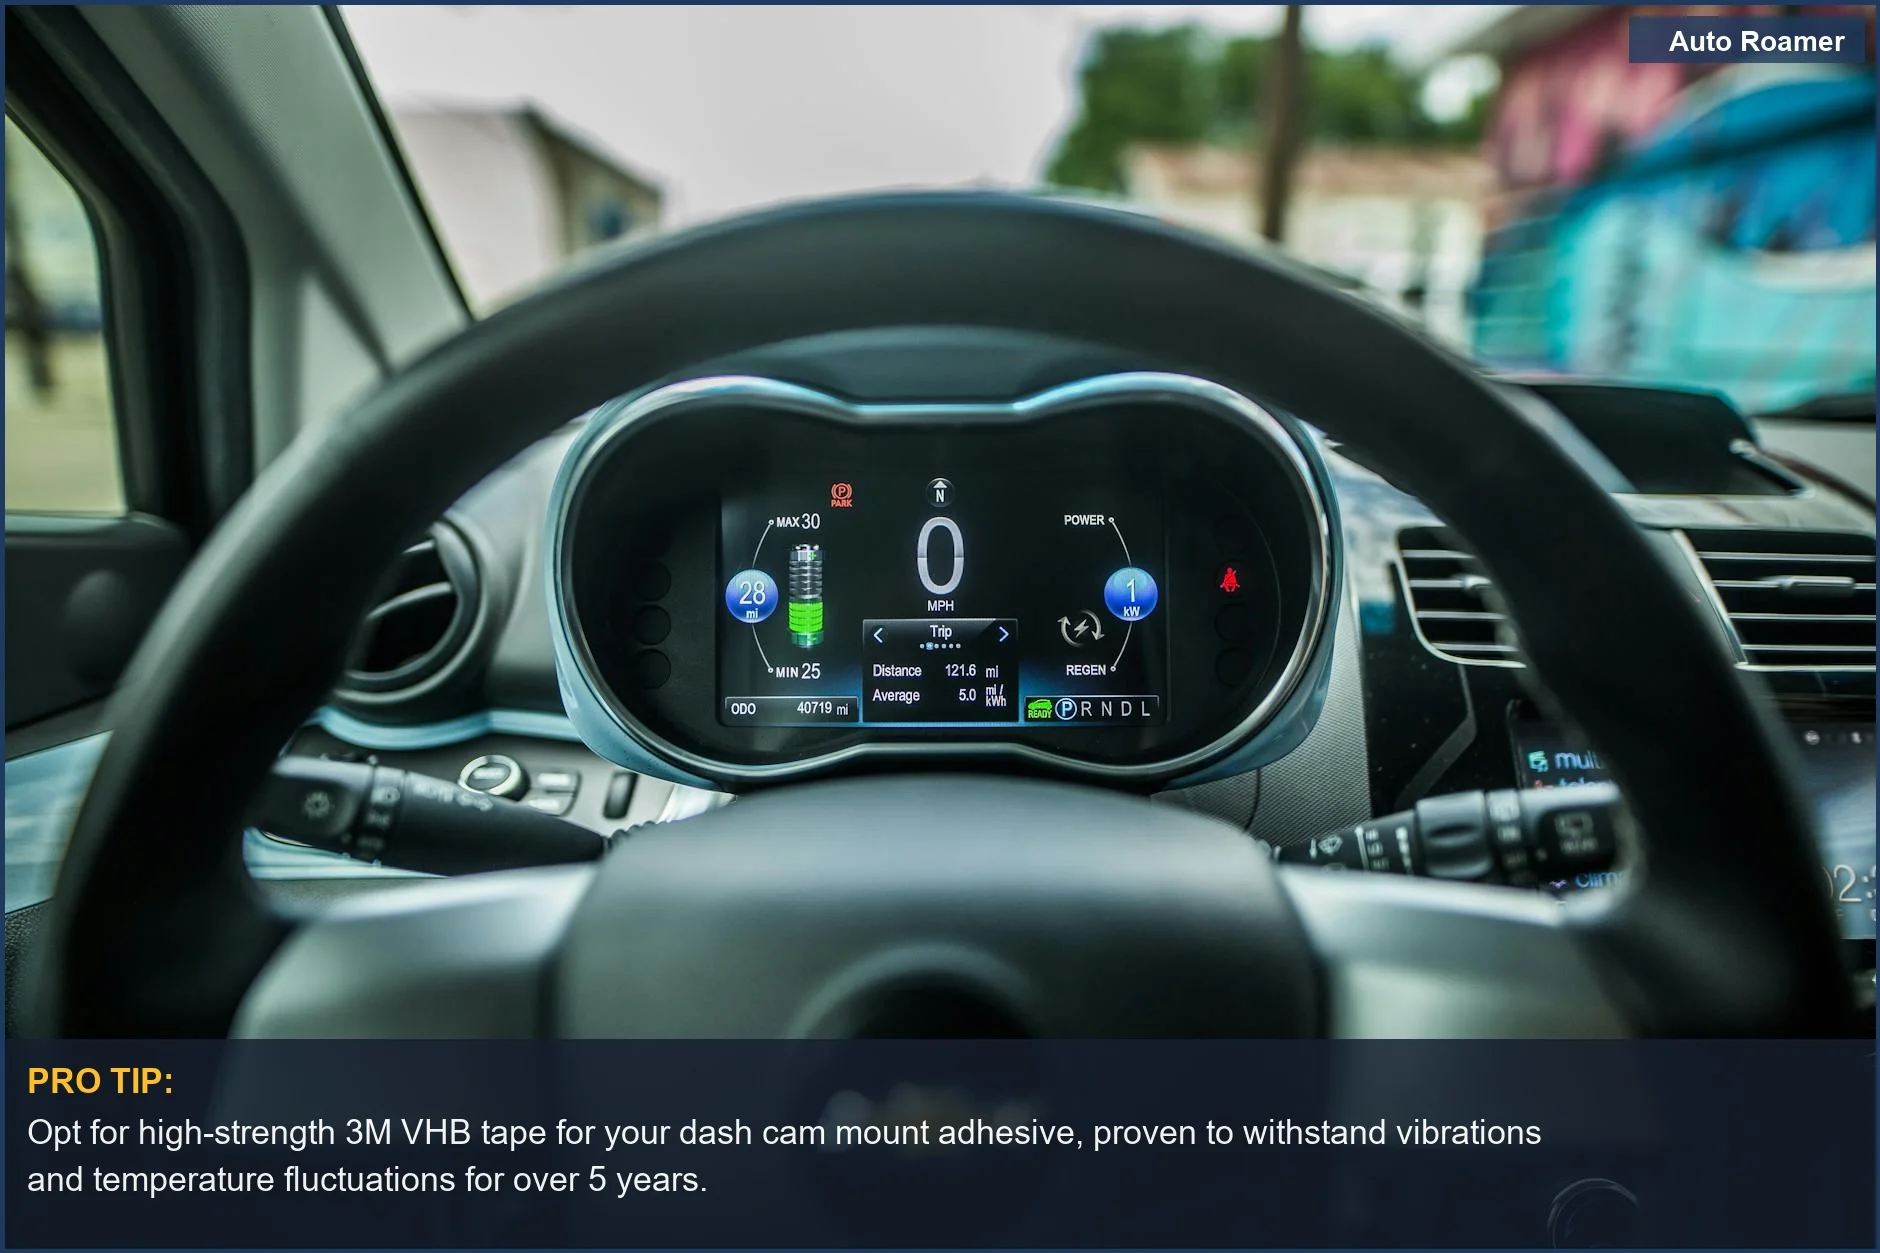
The automotive environment presents a unique set of challenges for any mounted device, and dash cams are no exception. Extreme temperature fluctuations, from scorching summer sun heating the windshield to frigid winter temperatures, can significantly degrade the adhesive's integrity. Furthermore, the constant vibrations from the road, engine, and even passing traffic can put immense stress on the mounting system. When selecting an adhesive mount, it's crucial to consider the quality and type of adhesive used. Some aftermarket solutions offer specialized 3M VHB (Very High Bond) tapes, known for their exceptional strength and durability, capable of withstanding harsh conditions How to Mount Your Dash Cam - BlackboxMyCar. Proper installation is also key; ensuring the windshield surface is clean and dry before applying the adhesive, and then applying firm pressure for a sufficient duration, helps create a strong bond How to Mount Your Dash Cam - BlackboxMyCar. For those needing to reposition or replace their mount, using specific double-sided tape designed for automotive applications can be a good alternative Removing dash cam without damaging adhesive? - Facebook. The performance of your dash cam's adhesive directly impacts its ability to capture reliable footage, making it a critical component of your dash cam setup.
The Short Answer
For a reliable dash cam installation, prioritize adhesive pads over suction cups, especially in challenging climates, as they offer a more permanent and secure bond.
While suction cup mounts offer easy detachment, they often fail under extreme temperatures, becoming soft and losing their grip. This is a critical failure point for dash cams, which need to remain stable to capture crucial footage. Adhesive dash cam mount solutions, often utilizing strong 3M tape or specialized silicone pads, create a long-lasting bond that resists vibrations and temperature fluctuations. This makes them the superior choice for a dashcam adhesive pad that won't let you down.
The framework for thinking about dash cam mounting hinges on permanence vs. portability. If you plan to frequently move your dash cam between vehicles or remove it for security, a suction mount might seem appealing. However, for a set-it-and-forget-it approach that ensures continuous recording, the robust adhesion of an adhesive mount is indispensable. Remember to clean the mounting surface thoroughly with isopropyl alcohol before applying any adhesive to ensure maximum bond strength.
When applying the adhesive, press firmly for at least 10 seconds after positioning the mount against the windshield. This crucial step ensures the adhesive makes full contact and creates a secure seal How to Mount Your Dash Cam - BlackboxMyCar. For those concerned about window tint, consider using a static side film in conjunction with the 3M adhesive bracket to protect the tint layer Easy Installation Of 3M Adhesive Dash Cam Bracket + Static Side Film.
Always inspect your camera mounts periodically for any signs of loosening or adhesive failure, especially after experiencing significant temperature shifts Fleet Dash Cam Installation Best Practices: The 2026 Guide to .... A well-applied dash cam mount adhesive is fundamental to the reliable operation of your dash cam.
What You Need to Know
Choosing the Right Dash Cam Adhesive Pad - Not all adhesives are created equal. For a reliable, long-term bond, opt for high-strength options like 3M VHB (Very High Bond) tape or specialized dashcam adhesive pads. These are engineered to withstand temperature fluctuations and vibrations, crucial for maintaining a secure mount. Avoid generic double-sided tapes; they can fail quickly, especially in vehicles exposed to extreme heat, like those in Phoenix.
Surface Preparation is Critical - A clean surface is paramount for adhesive success. Before applying any dashcam adhesive pad, thoroughly clean the windshield or dashboard area with isopropyl alcohol. This removes oils and residue that can prevent the adhesive from bonding properly. Follow up with a glass cleaner if necessary, ensuring the area is completely dry before proceeding. This meticulous cleaning is a non-negotiable step.
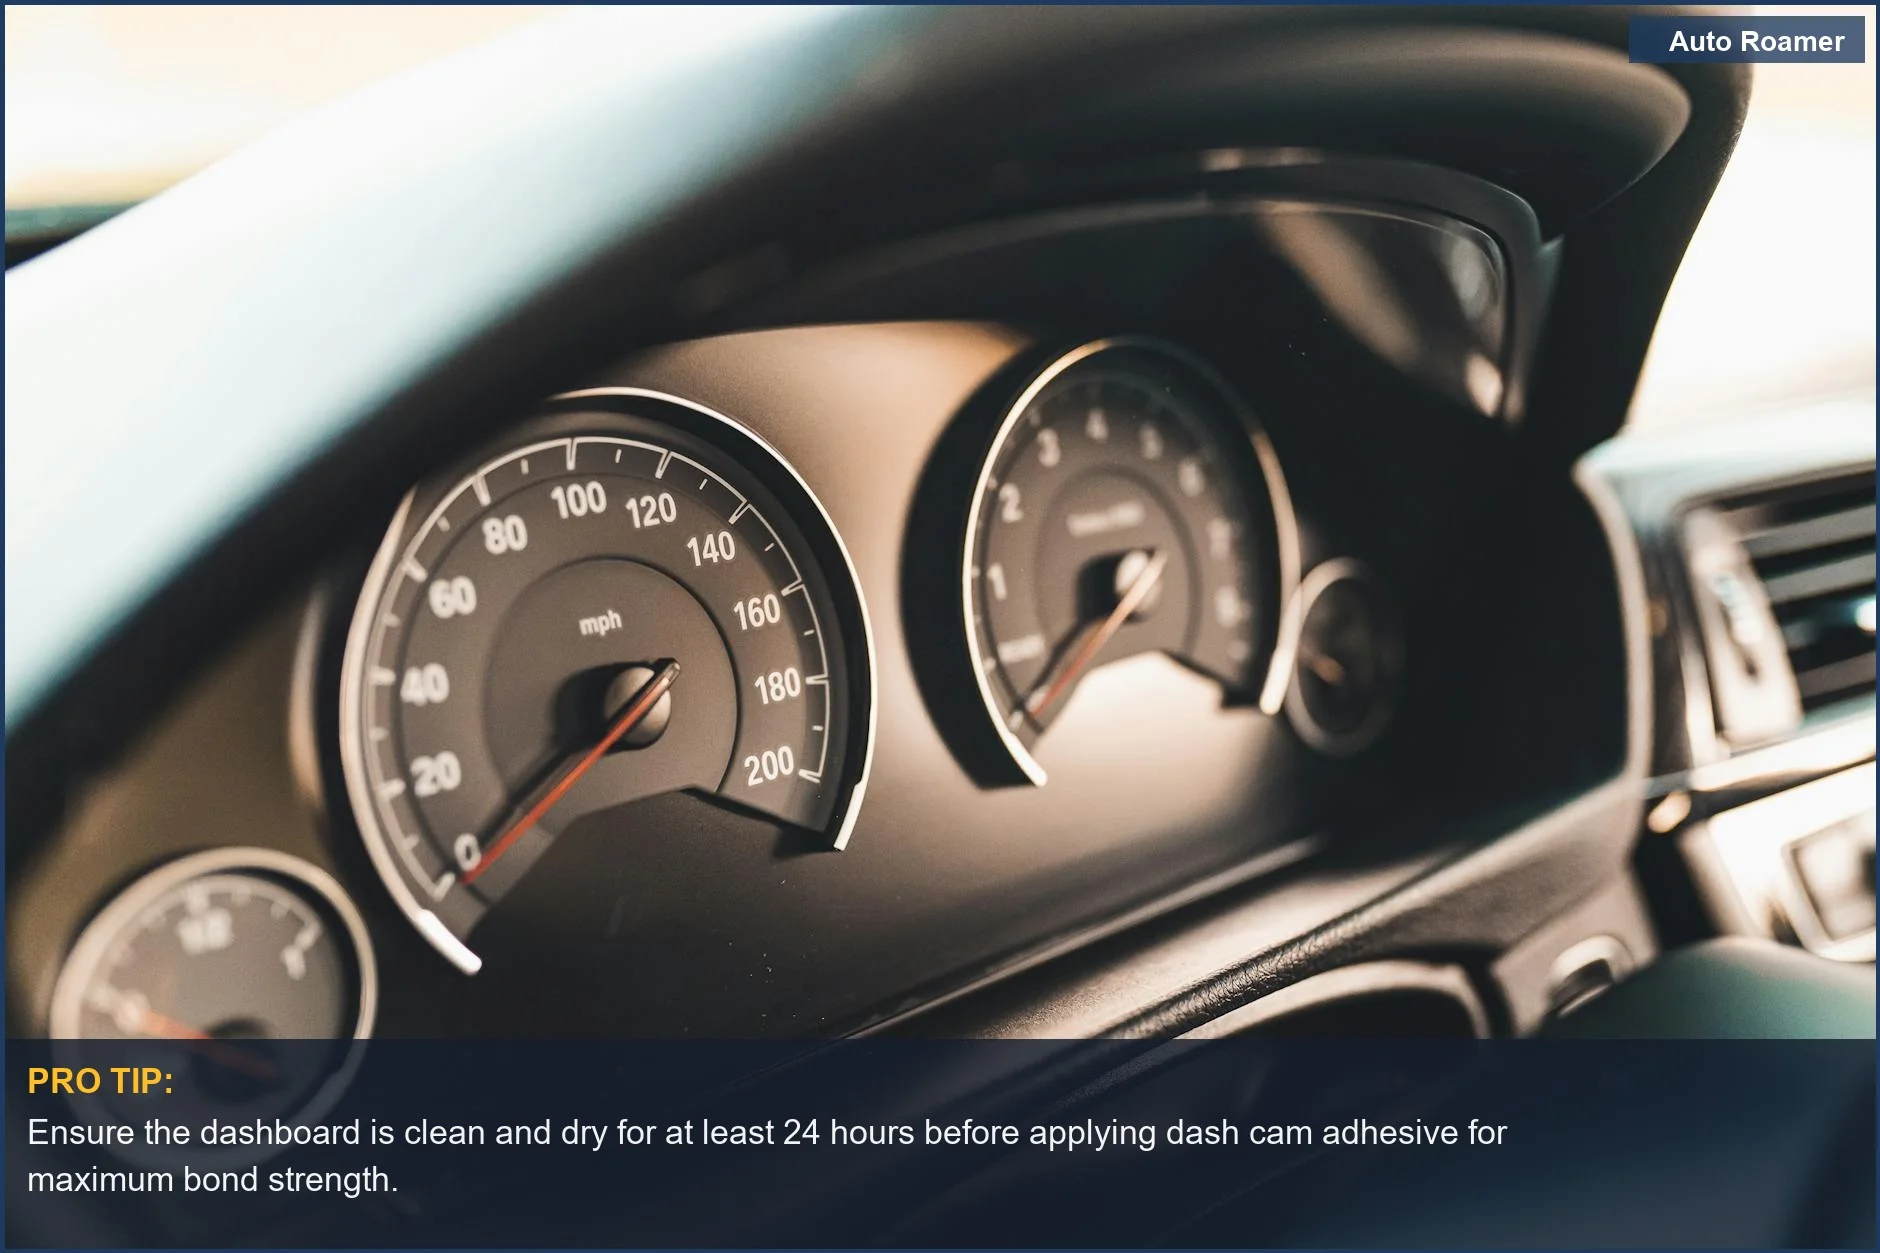
Proper Application and Curing - Once the surface is prepped, carefully apply the dash cam mount adhesive. Peel the backing off the adhesive and firmly press the mount onto the desired location. Apply consistent pressure for at least 10 seconds to ensure the adhesive makes full contact. For optimal adhesion, allow the mount to cure for a period before attaching the dashcam itself; some manufacturers recommend 24 hours for the strongest bond. This pressure and curing time are vital for preventing future failures.
Vehicle-Specific Considerations - The type of vehicle can influence mounting strategies. In sedans and smaller SUVs, the windshield area near the rearview mirror is often ideal, balancing field of view with avoiding driver obstruction. For larger vehicles like trucks and vans, especially those with complex dashboard layouts or aftermarket modifications, careful placement is key. Fleet managers, for instance, must account for potential auxiliary power draws and varied vehicle configurations when planning installations to avoid issues like dead batteries, as noted in fleet best practices.
Handling Tinted or Special Surfaces - If your vehicle has window tint, direct application of adhesive can damage it. In such cases, consider using a static cling sticker in conjunction with the adhesive mount. This creates a barrier between the adhesive and the tint, allowing for secure mounting without causing damage. Some kits specifically offer this combination for a no-damage installation. This approach preserves your tint while ensuring a solid mount.

How to Handle This
What This Looks Like in Practice
- Summer Heatwave in a Toyota Camry: A driver in Arizona experienced their dash cam mount adhesive failing due to extreme heat. The mount detached unexpectedly, causing the dash cam to fall. This highlights how sustained high temperatures can degrade adhesive bonds, leading to mount failure.
- Winter Commute in a Subaru Outback: In colder climates, adhesive mounts can become brittle. A user in Colorado reported their dashcam mount becoming loose during a particularly cold snap, though it re-secured once the interior warmed up. This suggests that temperature fluctuations impact adhesive performance.
- Long Haul Trucking in a Freightliner Cascadia: A fleet manager noted that after extensive travel, dash cam adhesive pads began to show signs of loosening. They found that regular inspection of mounts, especially on vehicles subjected to constant vibration and varying environmental conditions, is crucial to prevent unexpected dislodging. They opted for stronger aftermarket adhesive tape .
- Daily City Driving in a Honda Civic: A commuter found their dashcam adhesive pad loosening after several months of use, despite following proper installation instructions. They discovered that improper surface preparation, such as not thoroughly cleaning the windshield with isopropyl alcohol before application, was the likely cause of premature failure. A clean surface is paramount for a lasting bond .
- New Vehicle with Factory Tint in a Ford F-150: A driver with aftermarket window tint worried about damaging their tint film when applying a dash cam mount adhesive. They successfully used a static cling film in conjunction with the 3M adhesive bracket, which allowed for a secure mount without compromising the tint . This approach offers a flexible mounting tape solution.
Mistakes That Cost People
Skipping the cleaning step and assuming any wipe-down is sufficient is a common pitfall. Even a seemingly clean windshield can have microscopic residues that prevent a strong bond. Worse, people often fail to wait for the cleaning agent, like isopropyl alcohol, to fully evaporate before applying the adhesive.
Failing to apply adequate pressure and time to the adhesive is another oversight. The adhesive needs to conform to the surface and set properly. Simply pressing for a few seconds isn't enough. Pressing firmly for at least 10 seconds is crucial for a lasting bond.
Finally, ignoring the impact of extreme temperatures on adhesive performance is a mistake. While many modern adhesives are robust, cheap options or improper application can lead to failure. Regularly inspect your mount for loosening, especially after significant temperature shifts, as recommended for fleet dash cams. This is vital for long-term reliability.
Key Takeaways
Key Takeaways
- For a secure and reliable dash cam installation, prioritize using high-quality dash cam mount adhesive. While suction cups can loosen over time, especially in extreme temperatures Suction Mount vs Adhesive Mount for Your Dash Cam, adhesive pads offer a more permanent and robust solution. This is particularly important for ensuring continuous recording without the risk of the camera falling, which could lead to missed footage during critical moments.
- Proper preparation is critical for adhesive success; thoroughly clean your windshield with glass cleaner or isopropyl alcohol before applying the dashcam adhesive pad to ensure optimal adhesion viofo.com. Removing any dirt, dust, or grease is essential for the adhesive to bond effectively to the glass surface. Some users even recommend using a static sticker first to ensure a completely clean surface for the adhesive Watch Quick Guide Apply Adhesive for Dash Cam Suction Cup ....
- After application, apply firm pressure to the mount for at least 10 seconds to fully secure the adhesive against the glass How to Mount Your Dash Cam - BlackboxmyItemId. This ensures the adhesive makes full contact and begins its curing process. Regularly inspect your camera mounts for any signs of loosening or adhesive failure Fleet Dash Cam Installation Best Practices: The 2026 Guide to .... This proactive approach can prevent unexpected detachment.
- When choosing an adhesive, consider options like 3M VHB tape, known for its strength and ability to withstand varying temperatures and vibrations, ensuring your dash cam sticky mount stays put. This type of tape is designed for demanding applications and provides a long-lasting bond even in harsh automotive environments. For removals, using black double-sided tape can sometimes offer a balance between secure mounting and easier removal if needed Removing dash cam without damaging adhesive? - Facebook.